
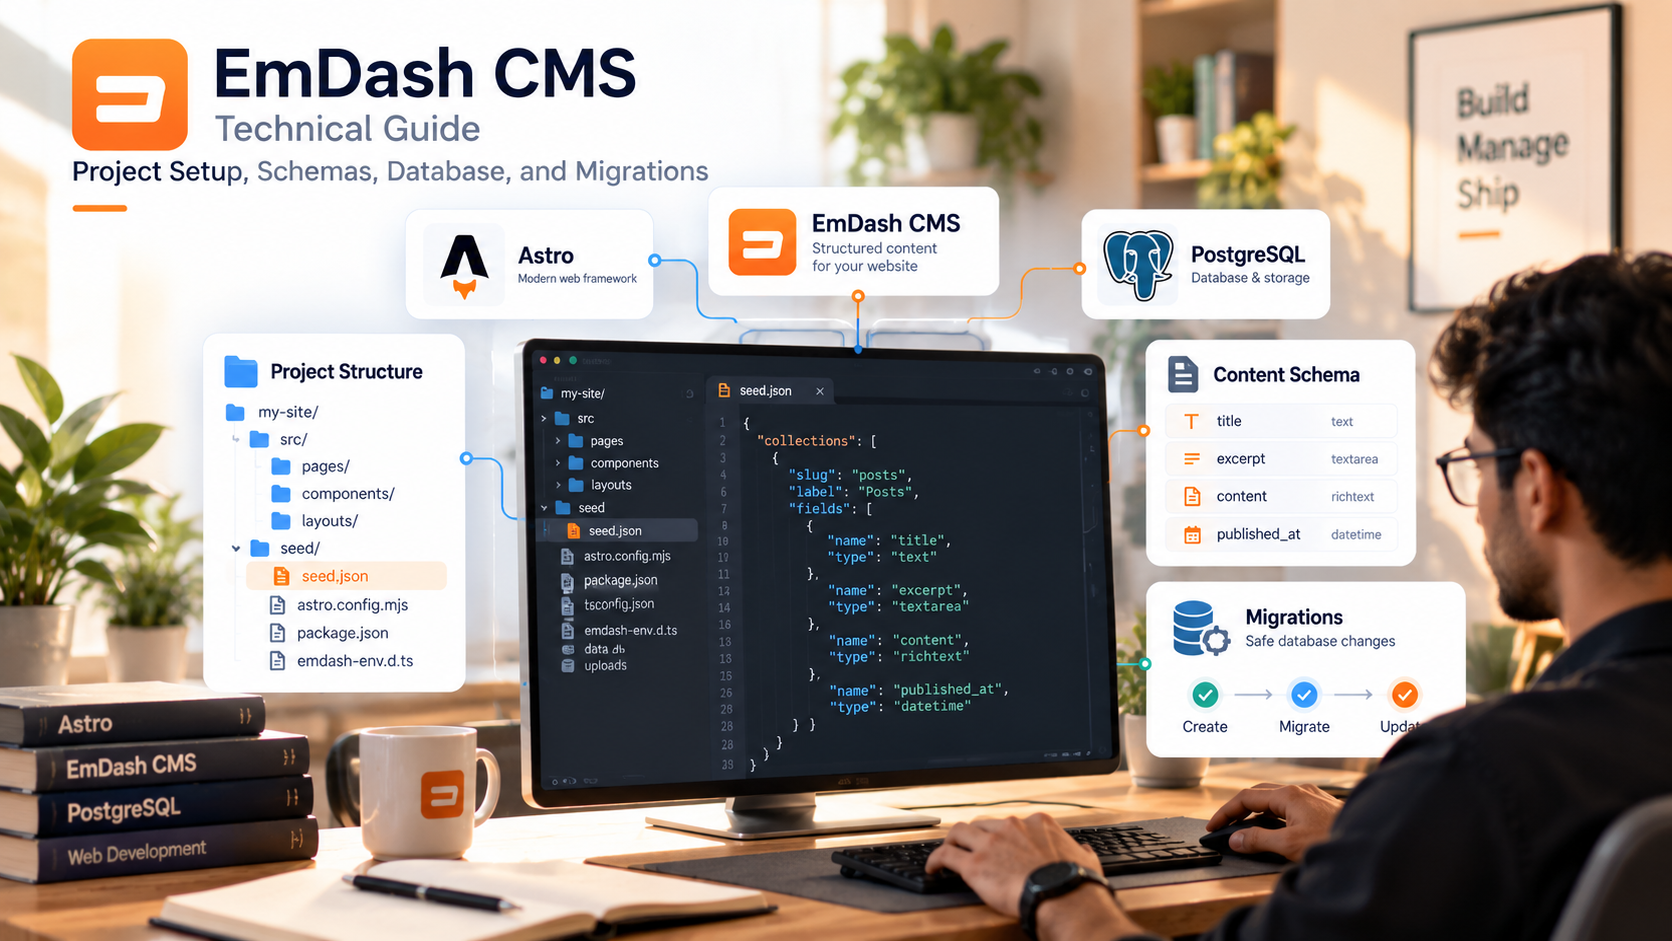
EmDash CMS Technical Guide — Project Setup, Schemas, Database, and Migrations
EmDash is an open-source, Astro-based content management system that provides structured content, an administrative interface, database integration, and plugin extensibility. This guide walks through creating an EmDash project, understanding its directory structure, configuring content schemas, generating TypeScript definitions, querying content, and managing database changes.
EmDash CMS Technical Guide — Project Setup, Schemas, Database, and Migrations
EmDash is an open-source, Astro-based content management system that provides structured content, an administrative interface, database integration, and plugin extensibility.
This guide walks through creating an EmDash project, understanding its directory structure, configuring content schemas, generating TypeScript definitions, querying content, and managing database changes.
1. Create an EmDash Project
Install a supported Node.js version and npm, then run:
npm create emdash@latestFollow the CLI prompts to create the project. Enter the project directory and install its dependencies:
cd my-site
npm install
npm run dev
Open http://localhost:4321/_emdash/admin to access the administration interface and complete the initial setup wizard. The exact scripts and dependencies depend on the generated template.
2. Understand the Project Structure
A typical EmDash project contains the following files and directories:
my-site/
├── astro.config.mjs
├── package.json
├── package-lock.json
├── seed/
│   └── seed.json
├── src/
│   ├── components/
│   ├── layouts/
│   ├── pages/
│   │   ├── index.astro
│   │   └── blog/
│   │       └── [slug].astro
│   ├── styles/
│   └── live.config.ts
├── public/
├── uploads/
├── data.db
├── emdash-env.d.ts
└── tsconfig.json
Some files appear only after development starts or depend on the selected database and template.
| File or directory | Responsibility |
|---|---|
astro.config.mjs | Configures Astro, EmDash, database, storage, and integrations |
package.json | Defines dependencies, commands, and optional EmDash metadata |
seed/seed.json | Defines the initial content model and optional sample content |
src/live.config.ts | Registers EmDash's live content collection with Astro |
src/pages/ | Contains public website routes |
src/components/ | Contains reusable UI components |
src/layouts/ | Contains shared page layouts |
data.db | Local SQLite database when SQLite is configured |
uploads/ | Local media storage when configured |
emdash-env.d.ts | Generated TypeScript definitions for the configured EmDash schema |
3. Configure the Astro Integration
EmDash runs inside the Astro application. Its integration is configured in astro.config.mjs.
A minimal Node.js and SQLite configuration looks like this:
import { defineConfig } from "astro/config";
import node from "@astrojs/node";
import emdash, { local } from "emdash/astro";
import { sqlite } from "emdash/db";

export default defineConfig({
  output: "server",
  adapter: node({
    mode: "standalone",
  }),
  integrations: [
    emdash({
      database: sqlite({
        url: "file:./data.db",
      }),
      storage: local({
        directory: "./uploads",
        baseUrl: "/_emdash/api/media/file",
      }),
      plugins: [],
    }),
  ],
});
Install any missing packages required by the selected template before using this configuration. Preserve the existing integrations if you are adding EmDash to an existing Astro application.
The database option configures database access, while storage defines where uploaded media is stored.
For other deployment targets, use the database adapter and Astro adapter supported by that environment.
4. Configure PostgreSQL
For a PostgreSQL deployment, install the PostgreSQL driver if it is not already included:
npm install pgReplace the SQLite adapter with PostgreSQL in astro.config.mjs:
import { postgres } from "emdash/db";

const database = postgres({
  connectionString: process.env.DATABASE_URL,
});

export default defineConfig({
  // ...
  integrations: [
    emdash({
      database,
      storage: local({
        directory: "./uploads",
        baseUrl: "/_emdash/api/media/file",
      }),
      plugins: [],
    }),
  ],
});
Set the database connection string in the server environment rather than hardcoding credentials in the source code.
Example environment variable names:
DATABASE_URL=postgresql://USER:PASSWORD@HOST:5432/DATABASEReplace the placeholders with the actual database credentials. Do not commit .env files or production secrets.
For PostgreSQL, the database role must have the required permissions to create and modify EmDash-managed tables, indexes, and related database objects. A role that can only read and write existing rows may be insufficient for migrations.
5. Understand the Content Schema
EmDash content types define the structure of the information managed through the CMS.
For example, a blog application may require a posts collection containing:
- Title
- Excerpt
- Content
- Publication date
The initial model can be described in seed/seed.json.
A seed file defines the initial content model and can also include optional sample content, settings, relations, taxonomies, and menus. It is not a general-purpose migration that automatically evolves the schema on every deployment.
6. Define a Blog Posts Collection
Create or update seed/seed.json with the following collection definition:
The following is a minimal illustrative seed for a blog application:
{
  "$schema": "https://emdashcms.com/seed.schema.json",
  "version": "1",
  "meta": {
    "name": "Developer Blog",
    "description": "Technical articles and tutorials",
    "author": "Engineering Team"
  },
  "collections": [
    {
      "slug": "posts",
      "label": "Posts",
      "labelSingular": "Post",
      "description": "Technical blog articles",
      "supports": ["drafts", "revisions", "search", "seo"],
      "urlPattern": "/blog/{slug}",
      "routable": true,
      "titleField": "title",
      "fields": [
        {
          "slug": "title",
          "label": "Title",
          "type": "string",
          "required": true,
          "searchable": true
        },
        {
          "slug": "excerpt",
          "label": "Excerpt",
          "type": "text"
        },
        {
          "slug": "content",
          "label": "Content",
          "type": "portableText"
        },
        {
          "slug": "published_at",
          "label": "Publication Date",
          "type": "datetime",
          "indexed": true
        }
      ]
    }
  ]
}
Important schema properties:
- slug identifies the collection and each field.
- label controls the collection name shown in the admin interface.
- type defines the stored field type.
- required controls whether a field may be empty.
- searchable enables the field to participate in collection search where supported.
- indexed requests an index for supported scalar field types.
- urlPattern defines the public URL pattern for routable content.
Use field types supported by the installed EmDash version. A portableText field is suitable for structured rich content rather than treating an entire article as an unstructured string.
Validate the seed before applying it:
npx emdash seed seed/seed.json --validate7. Seed Application & Schema Changes
The seed file has two distinct roles: establishing the initial model and optionally providing content to populate it.
For initial setup, EmDash reads the configured seed and applies its model to the new site. The setup wizard can offer the choice to include sample entries.
To explicitly apply a seed to a local SQLite database:
npx emdash seed seed/seed.json \
  --database ./data.db \
  --on-conflict skip
The skip conflict mode avoids replacing existing records with conflicting seed entries.
Other supported conflict modes include update and error; select one according to the intended operation.
Important: Do not treat repeated seed application as a substitute for planning schema changes on a live site. For changes to an existing content model, use the appropriate EmDash content-model workflow and follow the deployment guidance for the installed version.
8. Generate TypeScript Definitions
EmDash generates TypeScript definitions from the configured content schema. In a standard project, these definitions are available in emdash-env.d.ts.
The generated types help Astro code understand the fields available in the content model.
For example, a query can use the generated collection types:
---
import { getEmDashCollection } from "emdash/runtime";

const posts = await getEmDashCollection("posts");
---
<ul>
  {posts.map((post) => (
    <li>
      <a href={`/blog/${post.slug}`}>
        {post.title}
      </a>
    </li>
  ))}
</ul>
This illustrates the general content-query pattern. Check the generated types and the installed runtime API when implementing a page, particularly when filtering drafts or ordering published content.
After changing the content model, restart or rebuild as required by your development workflow and confirm that the generated types reflect the intended schema.
Generated TypeScript definitions are not a database migration. Copying emdash-env.d.ts to production does not create a missing content collection or apply database changes.
9. Register EmDash's Live Collection
The standard Astro integration uses src/live.config.ts to register EmDash's live content collection.
import { defineLiveCollection } from "astro:content";
import { emdashLoader } from "emdash/runtime";

export const collections = {
  _emdash: defineLiveCollection({
    loader: emdashLoader(),
  }),
};
This exposes EmDash content through Astro's live content layer.
The _emdash collection is a gateway to EmDash-managed content types. It is not a replacement for defining the content schema or registering the loader.
10. Build a Dynamic Blog Detail Page
Create src/pages/blog/[slug].astro to render an individual article.
A basic implementation can retrieve the post by slug:
---
import { getEmDashCollection } from "emdash/runtime";

const { slug } = Astro.params;
if (!slug) {
  return new Response("Not Found", { status: 404 });
}

const posts = await getEmDashCollection("posts");
const post = posts.find((entry) => entry.slug === slug);

if (!post) {
  return new Response("Not Found", { status: 404 });
}
---
<html lang="en">
  <head>
    <title>{post.title}</title>
  </head>
  <body>
    <main>
      <h1>{post.title}</h1>
      <p>{post.excerpt}</p>
    </main>
  </body>
</html>
This example demonstrates slug-based lookup and basic rendering. For a production website, verify the API's published-content filtering and pagination behavior, render Portable Text using the appropriate renderer, and generate metadata according to the site's SEO requirements.
11. Understand Migration Mechanisms
Database and content-model changes are not all handled in the same way.
| Mechanism | Responsibility |
|---|---|
| EmDash core migrations | Update EmDash's internal tables and content table structures |
| Content-model changes | Add, change, or remove collections and fields through the schema workflow |
| Seed files | Define initial models and optional sample data |
| Generated TypeScript definitions | Describe the configured schema for static type-checking |
| Application-owned SQL migrations | Manage custom application tables and relational keys independently |
For EmDash core migrations, inspect the status using the CLI:
npx emdash migrate --statusThe exact database selection and deployment options depend on the installed CLI version and configured database.
EmDash normally applies pending core migrations automatically at runtime unless migration behavior has been configured differently. For production environments, review the official migration workflow before deciding whether migrations should run automatically or as a deployment step.
For a custom application table, maintain a separate versioned SQL migration system. Do not manually modify EmDash's internal tables to add unrelated business functionality.
12. Safe Schema Deployment Workflow
A typical schema-change workflow is:
- Back up the target database.
- Update the content model in a dedicated development environment.
- Validate the seed or schema definition.
- Verify generated TypeScript definitions (
emdash-env.d.ts). - Apply the supported content-model or database migration workflow.
- Deploy application code and configuration changes.
- Verify content models and records in staging/production.
Use separate databases for development, preview, staging, and production. Pointing a test deployment at a production database can cause unintended schema or data changes.
Do not assume that switching from SQLite to PostgreSQL automatically copies existing content. Database configuration and data migration are separate tasks.
13. Troubleshooting
- Admin shows no content: Complete the initial setup wizard and confirm the seed applied.
- Collection missing in production: Verify database credentials and schema sync pipelines.
- Outdated types: Trigger an env regeneration and verify the active schema output.
- Migration failure: Check user role privileges for table/index alteration operations.
- 404 on dynamic routes: Verify slug patterns, publication state, and filtering logic.
- Media URLs failing: Confirm the storage adapter path and public upload asset prefix.
Conclusion
Building with EmDash requires understanding how the Astro application, content schema, database, generated TypeScript definitions, and migration workflows fit together.
The key is to keep initial seed configuration, content-model evolution, EmDash core migrations, and application-owned SQL migrations separate. With these boundaries in place, developers can build maintainable content-driven applications and deploy schema changes with greater confidence.
Official documentation
- EmDash and Astro
- Seed Files
- Database Configuration
- Core Database Migrations
- CLI Reference
Related Posts
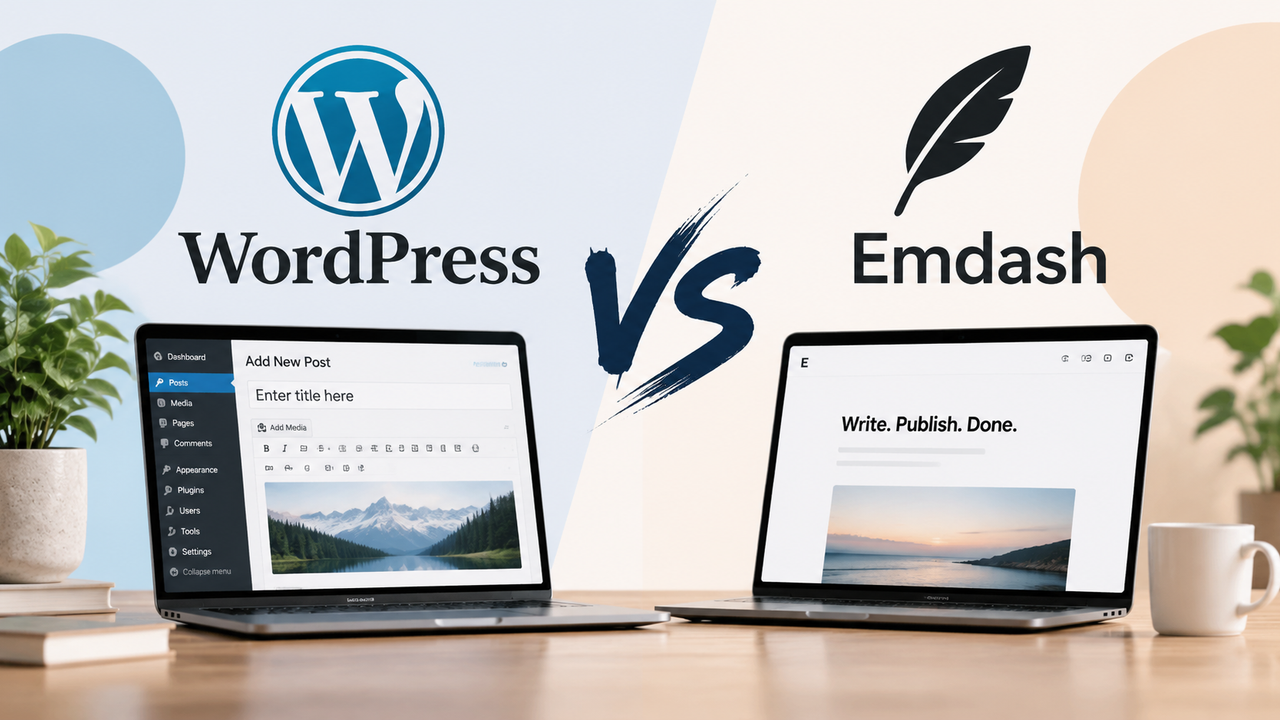
WordPress vs. Cloudflare EmDash CMS
WordPress offers an established ecosystem. EmDash brings an Astro-based approach to content management. Compare the practical trade-offs before choosing your next CMS.
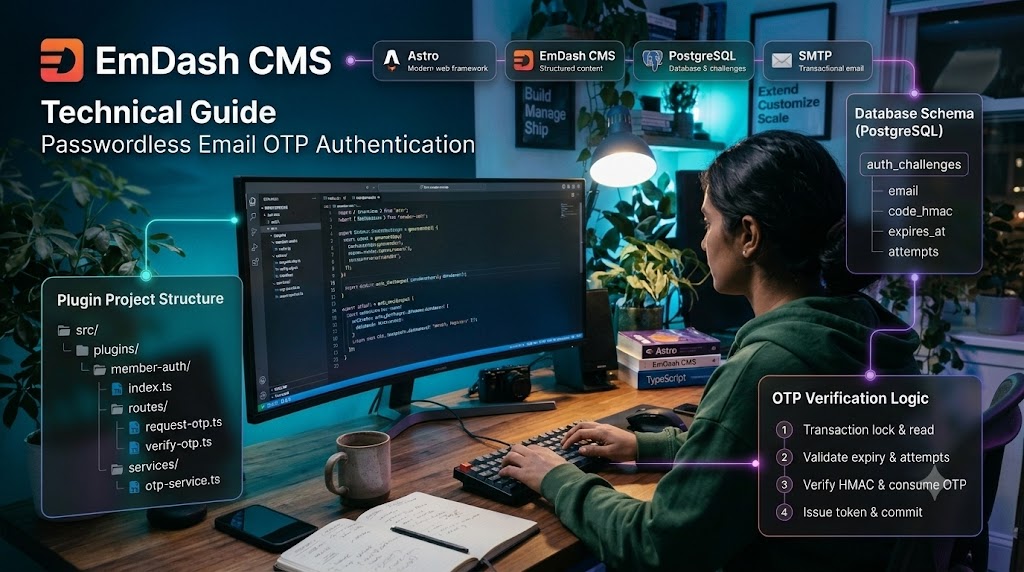
Passwordless Email OTP Authentication in EmDash CMS — Complete Technical Guide
Email OTP authentication lets users register or sign in using a one-time code sent to their email address, without storing a password. For a custom EmDash implementation, keep authentication logic in a dedicated native plugin rather than mixing it with the CMS admin authentication system.
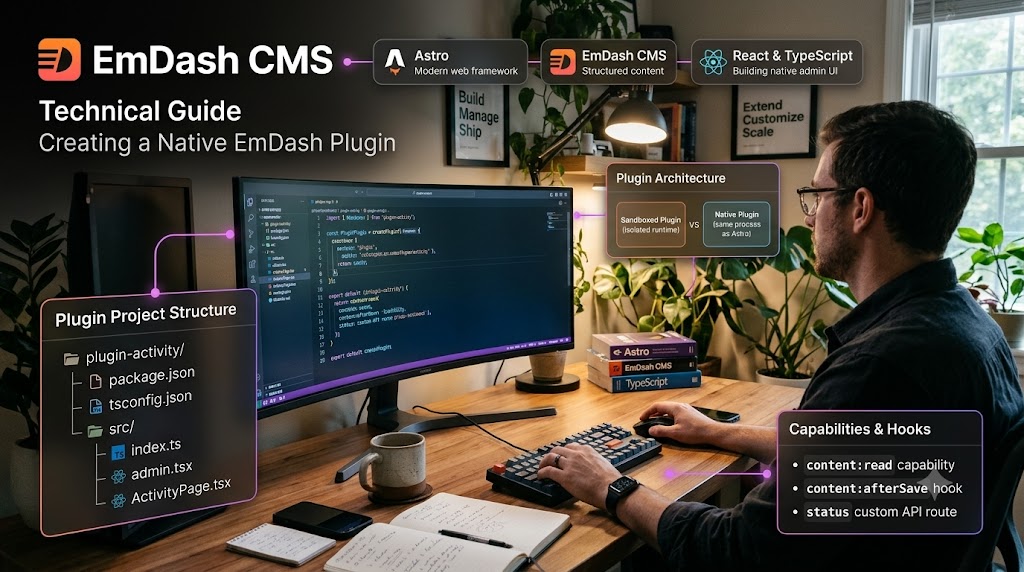
Creating a Native EmDash Plugin — Complete Technical Guide
EmDash plugins allow developers to extend the CMS with custom API routes, content lifecycle hooks, storage, settings, and administrative interfaces. In this tutorial, we'll create a native plugin named plugin-activity that records content-save events, exposes an API endpoint, and adds a React page to the EmDash admin panel.

Shopify Dead Inventory Detection: Automated Workflow to Recover Lost Revenue
Detect unsold Shopify inventory automatically. Monitor dead stock, send CSV reports via Gmail and Slack alerts. Free n8n workflow template included.