
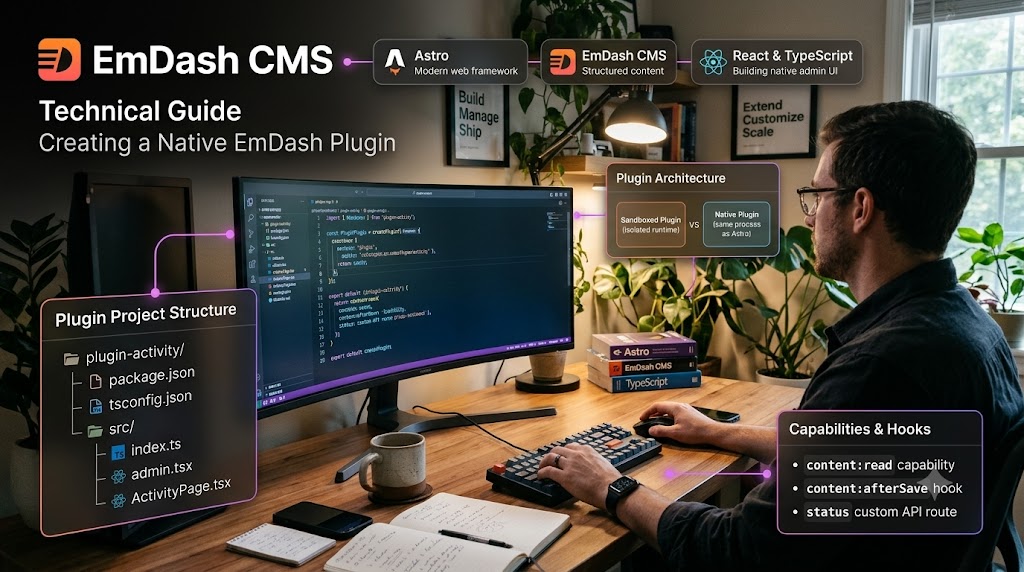
Creating a Native EmDash Plugin — Complete Technical Guide
EmDash plugins allow developers to extend the CMS with custom API routes, content lifecycle hooks, storage, settings, and administrative interfaces. In this tutorial, we'll create a native plugin named plugin-activity that records content-save events, exposes an API endpoint, and adds a React page to the EmDash admin panel.
Creating a Native EmDash Plugin — Complete Technical Guide
The examples follow the current native plugin architecture documented by EmDash. Native plugins run in the same process as the Astro application, so install only code you trust. https://docs.emdashcms.com/plugins/creating-native-plugins/your-first-native-plugin/
1. Understand Native vs. Sandboxed Plugins
EmDash supports two plugin formats.
| Feature | Sandboxed plugin | Native plugin |
|---|---|---|
| Runtime | Isolated plugin runtime | Same process as Astro |
| API routes and hooks | Supported | Supported |
| Admin interface | Block Kit | Block Kit or React |
| Direct host integration | Restricted | Available |
| Installation | Registry or sandbox configuration | npm package and Astro configuration |
| Isolation | Sandbox restrictions apply | No plugin-level isolation |
Choose a sandboxed plugin when its supported APIs are sufficient. Choose a native plugin when you need custom React admin components, Astro rendering components, or direct access to the host process. https://docs.emdashcms.com/plugins/creating-plugins/choosing-a-format/
2. Create the Plugin Project
Create a plugin package beside your EmDash website:
mkdir -p plugin-activity/src
cd plugin-activity
npm init -y
npm install -D emdash typescript tsdown
The directory structure will be:
plugin-activity/
├── package.json
├── tsconfig.json
└── src/
    ├── index.ts
    ├── admin.tsx
    └── ActivityPage.tsx
index.ts exports the plugin descriptor and runtime factory.
admin.tsx exports React components for EmDash admin.
ActivityPage.tsx implements the custom page.
3. Configure package.json
Replace the generated package configuration with:
{
  "name": "@example/plugin-activity",
  "version": "0.1.0",
  "type": "module",
  "main": "./dist/index.mjs",
  "exports": {
    ".": {
      "types": "./dist/index.d.mts",
      "import": "./dist/index.mjs"
    },
    "./admin": "./dist/admin.mjs"
  },
  "files": ["dist"],
  "scripts": {
    "build": "tsdown src/index.ts src/admin.tsx --format esm --dts --clean",
    "dev": "tsdown src/index.ts src/admin.tsx --format esm --dts --watch",
    "typecheck": "tsc --noEmit"
  },
  "peerDependencies": {
    "emdash": "*"
  },
  "devDependencies": {
    "emdash": "*",
    "tsdown": "^0.20.0",
    "typescript": "^5.9.0"
  }
}
The npm package name is scoped, but the EmDash plugin ID will be plugin-activity. The plugin ID appears in API URLs and should be lowercase, kebab-case, and stable.
The package exports must resolve to the built files. If you use different build filenames or a different bundler, update the exports accordingly.
4. Configure TypeScript
Create tsconfig.json:
{
  "compilerOptions": {
    "target": "ES2022",
    "module": "preserve",
    "moduleResolution": "bundler",
    "strict": true,
    "esModuleInterop": true,
    "declaration": true,
    "outDir": "./dist",
    "rootDir": "./src"
  },
  "include": ["src/**/*"],
  "exclude": ["node_modules", "dist"]
}
This configuration enables strict type checking and supports TypeScript modules used by the plugin.
5. Define the Plugin Descriptor and Runtime
Create src/index.ts:
import { definePlugin } from "emdash";
import type { PluginDescriptor } from "emdash";

export interface ActivityPluginOptions {
  logUpdates?: boolean;
}

export function activityPlugin(
  options: ActivityPluginOptions = {},
): PluginDescriptor<ActivityPluginOptions> {
  return {
    id: "plugin-activity",
    version: "0.1.0",
    format: "native",
    entrypoint: "@example/plugin-activity",
    adminEntry: "@example/plugin-activity/admin",
    options,
  };
}

export function createPlugin(
  options: ActivityPluginOptions = {},
) {
  return definePlugin({
    id: "plugin-activity",
    version: "0.1.0",
    capabilities: ["content:read"],
    hooks: {
      "content:afterSave": async (event, ctx) => {
        if (!event.isNew && options.logUpdates === false) {
          return;
        }
        ctx.log.info("Content saved", {
          collection: event.collection,
          contentId: event.content.id,
          isNew: event.isNew,
        });
      },
    },
    routes: {
      status: {
        permission: "plugins:read",
        handler: async (ctx) => ({
          ok: true,
          pluginId: ctx.plugin.id,
          callerId: ctx.user?.id ?? null,
        }),
      },
    },
    admin: {
      entry: "@example/plugin-activity/admin",
      pages: [
        {
          path: "/activity",
          label: "Activity",
          icon: "clock",
          group: "Monitoring",
        },
      ],
    },
  });
}
There are two important exports.
activityPlugin() returns the build-time descriptor. EmDash uses this descriptor while evaluating the Astro configuration.
createPlugin() returns the runtime plugin definition through definePlugin(). EmDash loads this factory from the descriptor's entrypoint.
Keep the plugin ID and version consistent between both definitions. The descriptor's adminEntry and runtime's admin.entry must also point to the same module. https://docs.emdashcms.com/plugins/creating-native-plugins/react-admin/
6. Register the Plugin in Astro
Return to the website project and install the local package:
cd ../my-emdash-site
npm install ../plugin-activity
Update astro.config.mjs:
import { defineConfig } from "astro/config";
import emdash from "emdash/astro";
import { activityPlugin } from "@example/plugin-activity";

export default defineConfig({
  integrations: [
    emdash({
      plugins: [
        activityPlugin({
          logUpdates: true,
        }),
      ],
    }),
  ],
});
Native plugin descriptors belong in plugins, not sandboxed.
Restart the development server after changing plugin registration:
npm run dev7. Add the React Admin Page
Create src/ActivityPage.tsx:
import * as React from "react";
import {
  apiFetch,
  parseApiResponse,
} from "emdash/plugin-utils";

interface ActivityStatus {
  ok: boolean;
  pluginId: string;
  callerId: string | null;
}

export default function ActivityPage() {
  const [status, setStatus] =
    React.useState<ActivityStatus | null>(null);
  const [error, setError] =
    React.useState<string | null>(null);

  async function loadStatus() {
    setError(null);
    try {
      const response = await apiFetch(
        "/_emdash/api/plugins/plugin-activity/status",
      );
      const result =
        await parseApiResponse<ActivityStatus>(response);
      setStatus(result);
    } catch {
      setError("Unable to load plugin status.");
    }
  }

  React.useEffect(() => {
    void loadStatus();
  }, []);

  return (
    <section>
      <h1>Activity Monitor</h1>
      <button onClick={() => void loadStatus()}>
        Refresh
      </button>
      {error && <p role="alert">{error}</p>}
      {status && (
        <dl>
          <dt>Plugin</dt>
          <dd>{status.pluginId}</dd>
          <dt>Authenticated administrator</dt>
          <dd>{status.callerId ?? "Unavailable"}</dd>
        </dl>
      )}
    </section>
  );
}
Create src/admin.tsx:
import ActivityPage from "./ActivityPage.js";

export const pages = {
  "/activity": ActivityPage,
};
The page path must match the path declared in the plugin's runtime admin.pages configuration.
The apiFetch() utility adds the request header required by EmDash's cookie-authenticated private routes. parseApiResponse() handles the API response format. https://docs.emdashcms.com/plugins/creating-native-plugins/react-admin/
8. Build and Test
Build the plugin package:
cd ../plugin-activity
npm run typecheck
npm run build
Then return to the website:
cd ../my-emdash-site
npm run dev
Verify the implementation:
- Open the EmDash admin interface.
- Locate the Activity page under the plugin navigation.
- Open the page and confirm that the status API responds.
- Create or update a content entry.
- Inspect the server logs for the Content saved event.
- Verify that the route rejects requests that do not satisfy its permission requirement.
The route is available at:
/_emdash/api/plugins/plugin-activity/statusEmDash plugin routes are mounted under /_emdash/api/plugins/{plugin-id}/{route-name}. https://docs.emdashcms.com/plugins/creating-plugins/api-routes/
9. Understand Storage and Database Migrations
EmDash plugins can declare their own indexed storage collections for plugin-specific records.
For example, if the plugin needs to persist activity records, declare storage in the runtime definition:
storage: {
  events: {
    indexes: ["createdAt"],
  },
},
The plugin can then use its declared storage collection through the plugin context. Indexes should cover the fields used for filtering and ordering.
For plugin-owned records, use EmDash plugin storage when it meets the requirements. If a feature needs custom relational tables or constraints that the plugin storage API does not provide, evaluate an application-owned database layer and a separate versioned SQL migration workflow.
Do not manually alter EmDash's internal tables to add unrelated application data. Core database migrations, content-model changes, plugin storage, and custom SQL migrations are different mechanisms.
10. Security and Troubleshooting
- Plugin does not load: Verify the descriptor, package exports, entry-point path, and matching plugin ID/version.
- Admin page is missing: Check
adminEntry, admin.entry, admin.pages, and the Reactpagesexport. - API returns an authorization error: Verify the route permission and use the supported authenticated API helper.
- Build fails: Confirm that every package export points to an actual generated file.
- Content hooks do not run: Verify that the relevant capability is declared and that the hook is registered correctly.
Native plugins execute with the authority of the host application. Capability declarations do not create an isolation boundary for native code. Avoid importing untrusted packages, exposing secrets to browser code, or performing expensive work inside request hooks.
Conclusion
A native EmDash plugin connects custom TypeScript functionality to the CMS through a descriptor, a runtime definition, and optional admin components.
By keeping plugin metadata, server-side behavior, API routes, and React interfaces organized, developers can build maintainable extensions that integrate with EmDash without mixing all functionality into the Astro application itself.
Related Posts
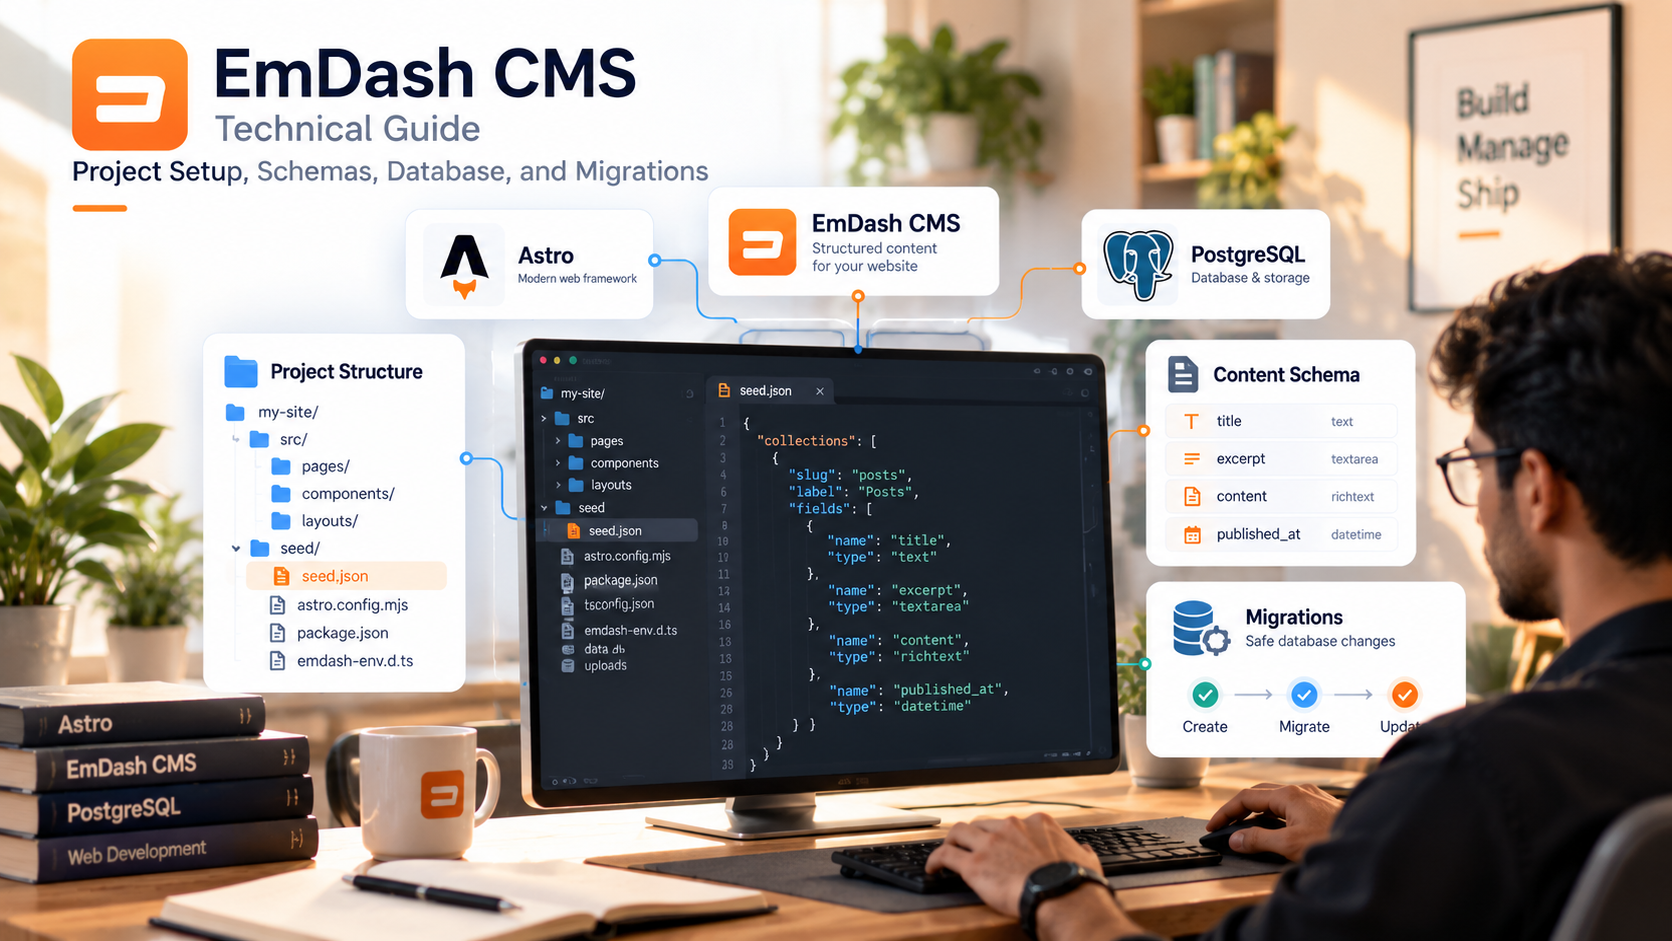
EmDash CMS Technical Guide — Project Setup, Schemas, Database, and Migrations
EmDash is an open-source, Astro-based content management system that provides structured content, an administrative interface, database integration, and plugin extensibility. This guide walks through creating an EmDash project, understanding its directory structure, configuring content schemas, generating TypeScript definitions, querying content, and managing database changes.
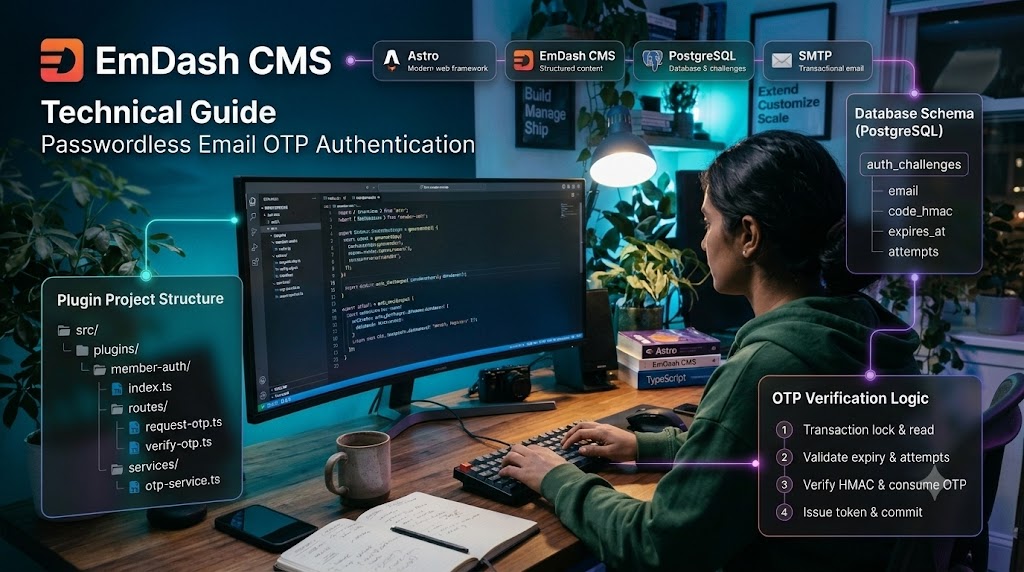
Passwordless Email OTP Authentication in EmDash CMS — Complete Technical Guide
Email OTP authentication lets users register or sign in using a one-time code sent to their email address, without storing a password. For a custom EmDash implementation, keep authentication logic in a dedicated native plugin rather than mixing it with the CMS admin authentication system.
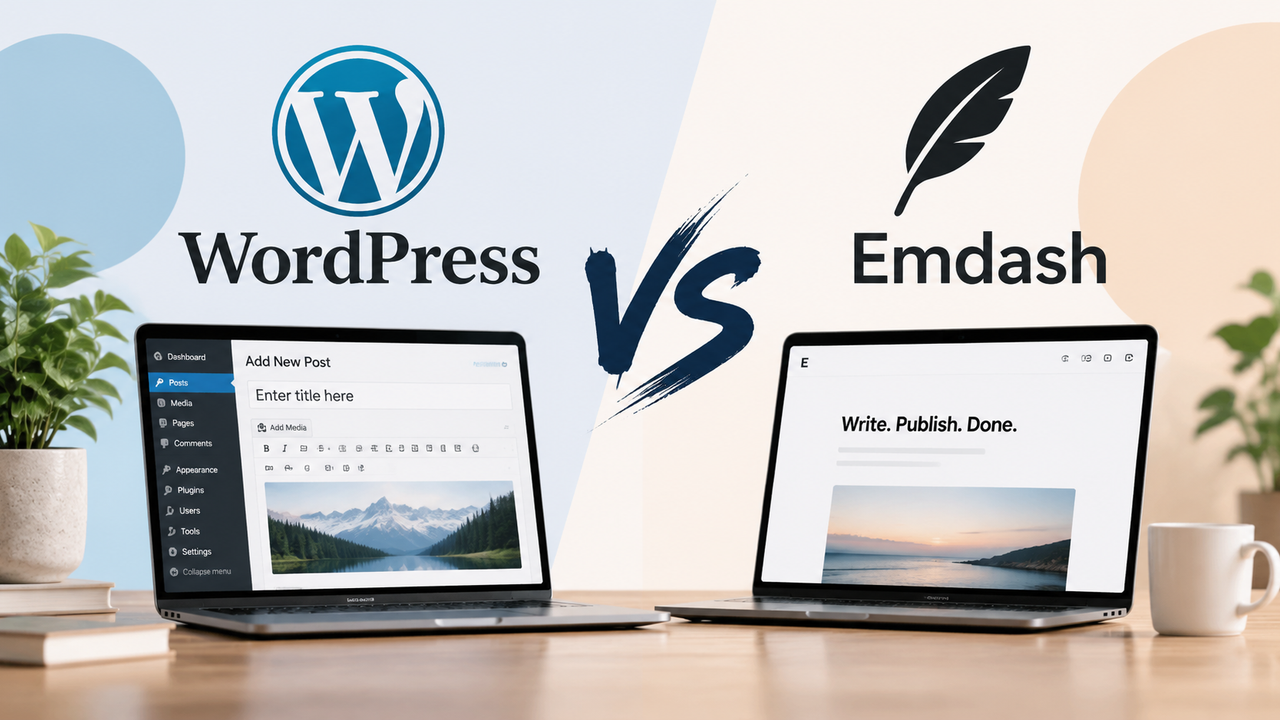
WordPress vs. Cloudflare EmDash CMS
WordPress offers an established ecosystem. EmDash brings an Astro-based approach to content management. Compare the practical trade-offs before choosing your next CMS.
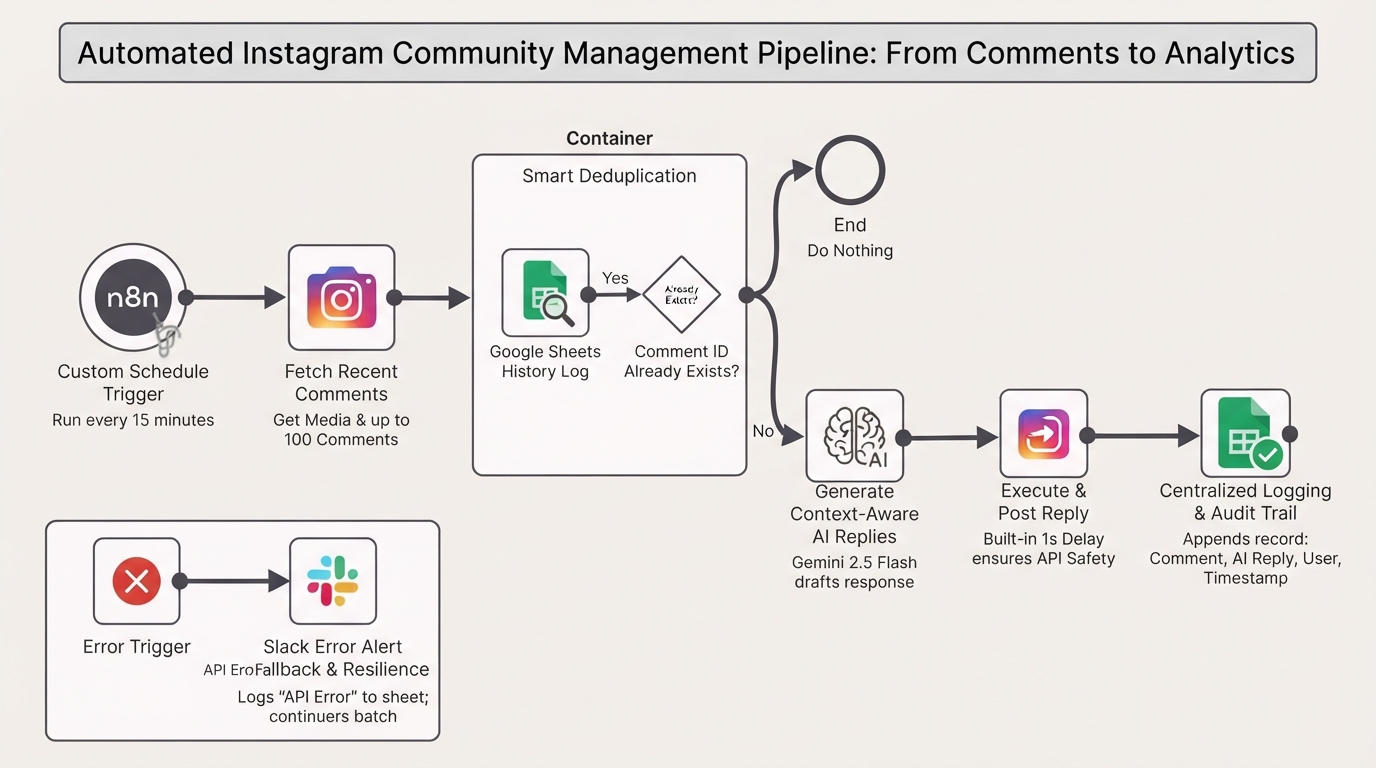
Auto-reply to Instagram comments with Gemini and Google Sheets tracking
Automate your Instagram community management authentically. This n8n workflow monitors your posts, uses Gemini AI to generate context-aware replies, and logs interactions in Google Sheets.