

How To Migrate A WordPress Site
Migrating a WordPress website may become necessary if your current hosting provider no longer meets your needs. With the right approach, you can transfer your site safely and efficiently while minimizing downtime and preserving your data.
The Best Way to Migrate a WordPress Website
Ideally, you’ll pick a hosting provider that’s so good you won’t ever need to move your website. However, not all hosting providers offer the same level or quality of service. If you choose the wrong one, you may have to move your WordPress site at some point.
Fortunately, migrating your site isn’t as complex as you might imagine. It can take a few hours, but the process is relatively straightforward. Plus, if you choose a web host that offers better performance and more features, the effort will be well worth it.
In this article, we’ll teach you the best way to migrate a WordPress website, step by step. Then we’ll introduce you to some WordPress migration tools you can use to simplify the process. Let’s get moving!
Should I Migrate My WordPress Site Manually or Automatically?
Migrating a WordPress website isn’t hard. However, if you want to do so manually, you’ll need to be comfortable using File Transfer Protocol (FTP), accessing databases, and modifying files on your site’s back end.
Those processes sound complex, but they’re simple enough if you follow a clear tutorial. However, if you’d rather try a simpler approach, you can always use a WordPress migration tool or plugin. There are several options, and we’ll introduce you to some of our top picks later on.
Keep in mind that large websites can be more prone to errors when using migration plugins. In those cases, manual migration is the better approach. If you follow the instructions carefully, you shouldn’t run into any problems.
Finally, it’s worth noting that some web hosts offer free migration services to new subscribers. You can also hire a third-party service to help you move your site, although that can be a pricey solution (and you’d need to make sure you choose a company with a sterling reputation).
How to Migrate Your WordPress Site Manually
Even if you’re not afraid to roll up your sleeves and migrate your site by hand, you’ll probably want a little help getting started. Let’s walk through the process, one step at a time.
Step 1: Choose a New WordPress Host
If you’re researching how to migrate your website, there’s likely a reason you’re leaving your current host. You’ll want to keep any problems you’ve experienced in mind as you shop for a new home for your WordPress website.
For example, if your site suffered a breach, you’ll want to look for a new provider that offers top-notch security features. It’s also important to understand the different kinds of hosting that are available to choose from. These include:
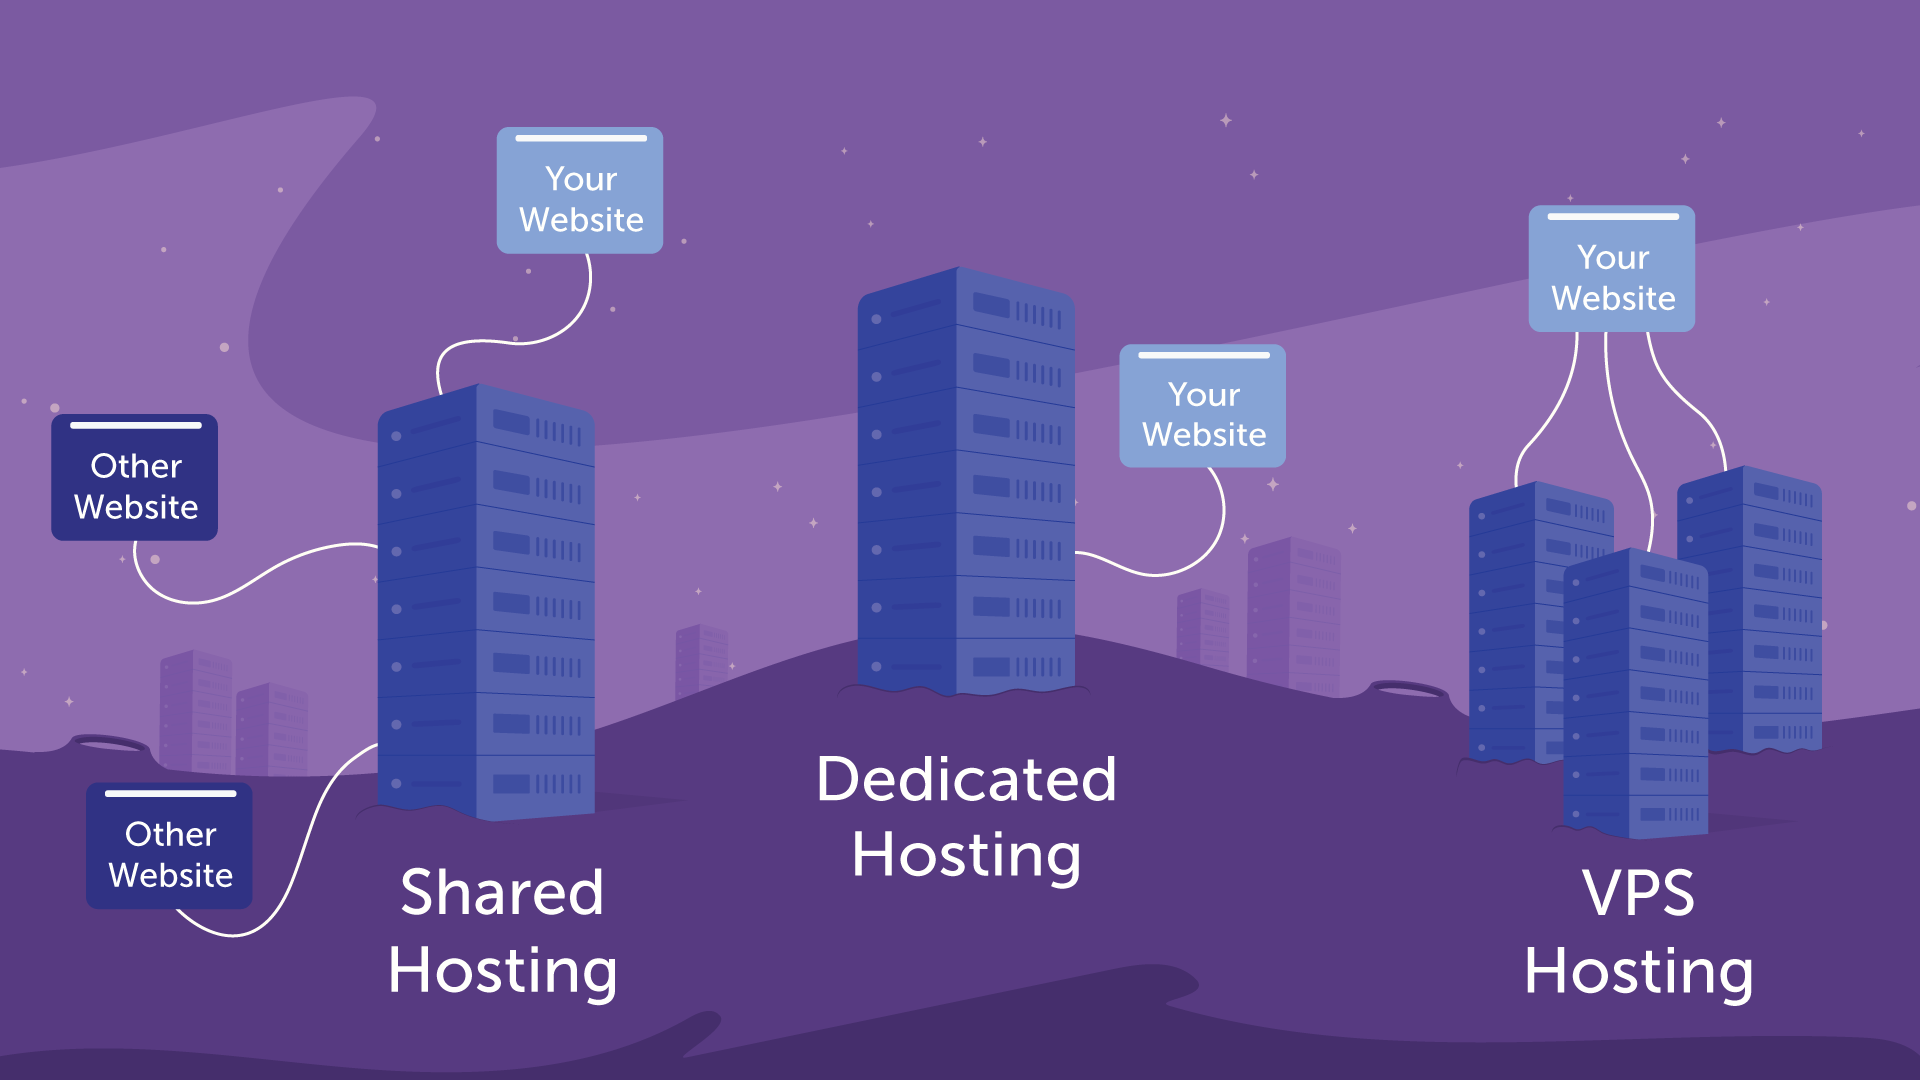
- Shared: This is when one server houses many websites that all share resources, and is typically the most budget-friendly option.
- Virtual Private Server (VPS): A VPS involves virtual partitions within a shared server, so your site has dedicated resources available to it.
- Dedicated: With this type of plan, you get a physical server that houses and supports only your website.
- Managed: Any type of hosting plan can be managed if the hosting provider handles technical tasks such as backups and updates for you.
In order to choose the best option for your website, you’ll want to assess what your main priorities are. Key considerations include security, data storage, speed, and customer support. For example, if you have a large eCommerce operation, security may be higher on the list than other items.
Step 2: Back Up Your Site’s Files
The first thing you need to do is make a copy of all your website’s files. To do this, you’ll want to use an FTP tool. If you don’t already have one, FileZilla is an excellent (and free) option.
After you connect to your site’s server via FTP, you’ll need to navigate to your WordPress root folder, which contains all the files on your site. It’s usually called either public_html or www, or is named after your site.
Now, right-click on your root folder and choose the Download option. This will download a copy of your entire root directory to your computer. The process can take a while, but when it’s done you’ll be ready to move on.
Step 3: Back Up Your WordPress Database
At this point, you already have a copy of your website’s files. Now you need to back up its database. This is where all the information about your site’s content, users, and lots more is contained.
To do this, you’ll need to access your database. Most web hosts enable you to do this through your control panel. For example, if you’re using cPanel, you’ll find a section called Databases. In that section, you’ll want to click on the phpMyAdmin option.
Step 4: Export Your WordPress Database
Once you’re in, choose your site’s database from the list on the left, and navigate to the Export tab using the top menu. Select the Quick option under Export Method, and hit Go. This will download a copy of your site’s database in .sql format.
Step 5: Create a New SQL Database and Import the Contents of Your Old One
Next, you have to create a new database on the web host you’re moving to. Then you’ll import the file from your old database, which will override the contents of the new one.
If your new WordPress host also uses cPanel, here’s what you’ll need to do:
- Go to the Databases section in cPanel, and choose the MySQL Databases option.
- Create a new database and add a user to it from this same tab (and take note of the names you use later).
- Access the new database using phpMyAdmin, as you did during the previous step.
- Go to the Import tab within the new database and upload the
.sqlfile you generated earlier.
That’s it! Now your old database is located on your new web host. However, you still need to re-upload the rest of your site’s files.
Step 6: Upload Your Site’s Files to the New Web Host
For this step, you’ll need to first log into your new server via FTP. Then, navigate to its root folder.
Right-click anywhere within that folder, and select the Upload option. Locate the folder you downloaded during Step 2, open it, and select all the files and directories within.
The upload process can take a while since we’re talking about hundreds of files. If you’re patient, however, you’ll soon find yourself almost at the end of the journey.
Step 7: Edit Your Site’s wp-config.php File
Once all your files are up on the new server, you’ll need to access your WordPress root folder one more time. If you try to actually visit your website now, it won’t work, because you need to update WordPress’ wp-config.php file so that it points towards your new database.
To do this, locate the wp-config.php file within your new root folder, right-click on it, and select the View/Edit option. This will open the file using your local text editor, enabling you to make changes. Here are the three lines you’ll need to update:
define('DB_NAME', 'db_name');
define('DB_USER', 'db_user');
define('DB_PASSWORD', 'db_pass');
Currently, all three lines will include values that point toward your old database. Go ahead and replace the lowercase variables with the credentials for your new database, which you created during Step 5.
Then, save the changes to the file and close it. You should now be able to access your WordPress website, which will look just as it did before.
Step 8: Configure and Change Your DNS
Finally, you’ll need to make sure your Domain Name Server (DNS) is pointed toward the correct host. For example, if you are migrating to a WP Engine hosting plan, you’ll need to point your DNS to your new WP Engine server.
To do this, you’ll need two things:
- Information from your new host
- Access to the registrar where you purchased your domain name
You can find the details you need by going to your WP Engine User Portal again and clicking on Domains. Near the bottom of the Domains screen, you’ll find a section called DNS Details. There you’ll find both a CNAME Record and an A Record for your website.
This is the information you’ll need to enter into your domain name account. Depending on where you purchased the domain, the process for doing so can vary.
WordPress Migration Tools to Make Your Move Easy
If manual migration is too tedious, here are the top automation tools available to simplify the process:
- WP Engine Automated Migration
- Duplicator
- WP Migrate DB
- All-in-One WP Migration
- WPvivid Backup Plugin
Related Posts
Wordpress SEO
Search engines are the biggest source of traffic for most websites.

How to Customize WordPress Plugins
WordPress plugins make it easy to add powerful features to your website, but their default functionality may not always fit your specific needs. By customizing plugins, you can extend their capabilities and tailor them to your requirements without building everything from scratch.
Difference between various hosting types
Every website runs on a server, and web hosting gives you the server space and resources needed to make your site accessible online. Learn how web hosting works and why it's essential for building and maintaining a website.

How To Use Ajax in WordPress
Ajax makes WordPress websites more interactive by enabling real-time updates without reloading the page. With the help of Ajax-powered plugins, you can easily add dynamic features that improve user engagement and create a smoother browsing experience.