
Backup & Clone
Cloning a WordPress site lets you create an exact copy for testing, migration, backups, or development. This guide explains why site cloning is useful and walks you through the process step by step.
How to Clone a WordPress Website
There is a difference between a clone and an original thing or person. In certain scenarios, cloning a WordPress site, that is, copying it exactly, is useful and does not raise ethical concerns, regardless of how you feel about animal (or human) cloning. You've come to the right place if you're looking for information on cloning a WordPress site.
What is WordPress Cloning?
In short, WordPress cloning means creating an identical copy of your WordPress site to test changes, move it to root, etc. In technical terms, you create a 'clone' of your website when you back it up. In the context of websites, cloning isn't what we mean. It means creating an exact copy of a website in a particular location; that is, a website that behaves exactly like your production site.
Backing up a site creates an 'inactive' copy as a safety net. There are a few reasons why you might want to clone a WordPress site, which I will describe in more detail later in this article. Let's fire up the WordPress Site Replicator 3000 (WSR-3000) now!
How to Clone a WordPress Site Using a Plugin
In this article, I'll describe how to clone a WordPress site using a staging plugin. In comparison to doing it yourself, a plugin can save you a lot of time and effort. In this article, I'll demonstrate how to clone a WordPress site without access to FTP using the excellent BlogVault plugin. With its staging feature, you can quickly make a password-protected copy of your website.
You do not need to create a subdomain or perform a WordPress migration, and you do not need to pay for additional hosting. Cloud-based hosting will be provided by BlogVault for the cloned site. Furthermore, it's very easy to use and has a minimalist, clean interface. The steps are as follows:
Step 1: Activate the BlogVault Plugin
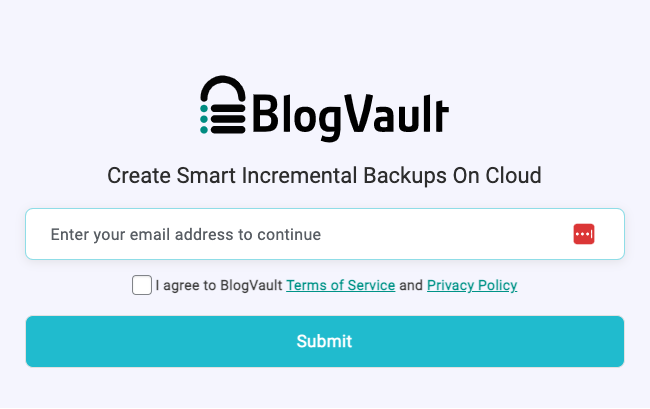
Activate the BlogVault plugin on your WordPress website. You will be asked to create an account as soon as you activate it. Click Submit after entering your email address, agreeing to the terms, and agreeing to the privacy policy.
Step 2: Add a Staging Site
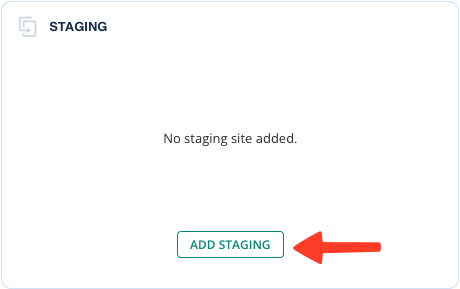
As soon as you sign up, BlogVault will automatically back up your site. When the backup is complete, go to the dashboard and click Add Staging under the Staging section.
Step 3: Select Configuration Options
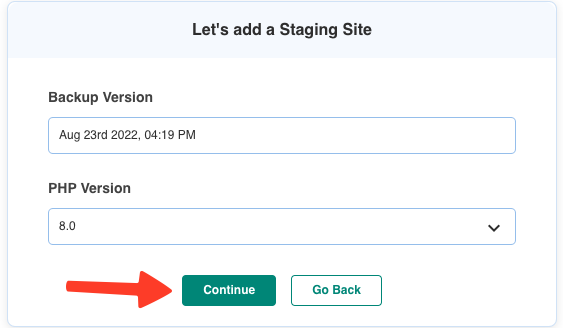
On the next page, choose the version of your site you want BlogVault to clone, along with the PHP version. One of BlogVault's many USPs is this feature. Multiple backups of your data are stored, giving you the flexibility to test things on older versions of your site up to a year ago. Continue by clicking Continue.
Step 4: Finalize the Cloning Process
BlogVault will now begin the process of cloning the site. You can see how it has progressed on the following page. A set of credentials will be provided for accessing the cloned site once the process is complete. You, and only you, will be able to access the site with these credentials. To access the clone created just now, click Visit Staging.
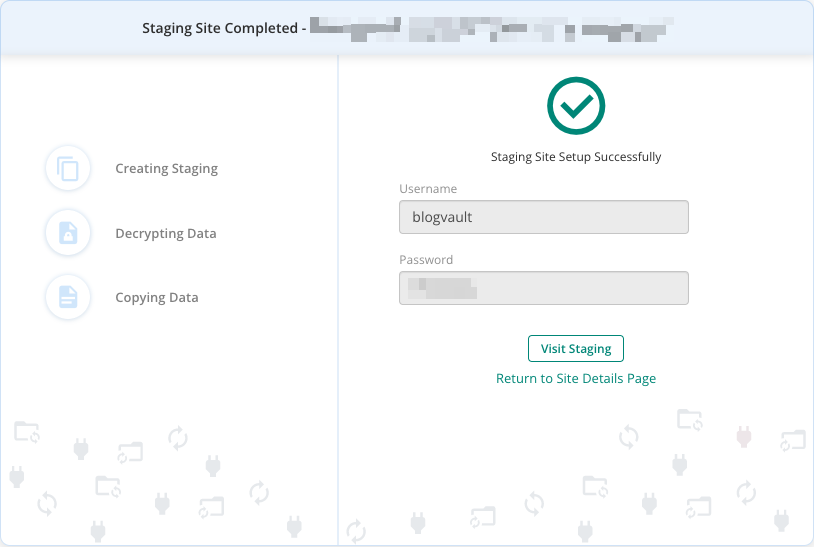
Congratulations! Your WordPress site is now exactly replicable, fully functional, and ready for experimentation. To access the cloned site’s dashboard, go to the URL that you get by appending /wp-login.php to the staging site URL. You must enter the same WordPress login credentials to access the cloned site's dashboard as you do for your live site.
Go to the BlogVault dashboard and click Merge under the Staging section if you want to replicate changes you've made on your cloned site.
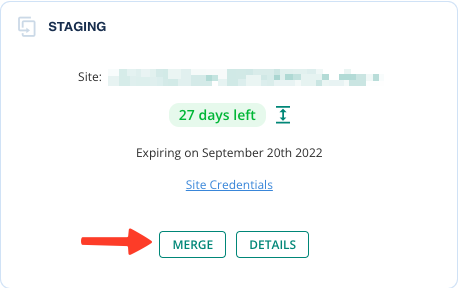
That was easy, wasn't it? When it comes to cloning a WordPress site, BlogVault is an excellent option. In addition to the fact that it's quick and easy to clone a site with BlogVault, here are some other reasons why you might prefer it:
- The cloned site is automatically prevented from being crawled by Google and other search engines, which otherwise would negatively affect SEO performance.
- There is no need to pay for additional hosting. A cloned site will be hosted on BlogVault's own, powerful cloud-based servers.
- The cloned site has SSL support.
- Your cloned site is password-protected.
- Several business-critical websites have email sequences that are triggered by certain events. With BlogVault, you don't have to worry about unintentional emails being sent from clones of such sites.
- Each cloned site has SFTP access for secure file transfers.
- Cloned sites come with phpMyAdmin support, so you can perform any database operation.
How to Clone a WordPress Site Manually (Without a Plugin)
If you don't want to use a plugin, you can clone a WordPress site without it. If you’re a DIY person, you can do the cloning yourself. The manual procedure, however, is not as simple, takes a lot of time, and is error-prone. Additionally, you'll need a spare domain name and a server to host the cloned site, either web-based or local. I recommend you try BlogVault before moving forward. You will save a lot of time and effort this way.
To manually copy a WordPress site, follow these core milestones:
- Download your website files to your computer.
- Upload the copy to a new web server.
- Export the database of your live site.
- Create a new database for your cloned site.
- Import the database into the clone's database.
- Edit the
wp-config.phpfile.
I will use FTP, a protocol that defines how files should be transferred over the Internet, for this section. An FTP client is required to use FTP. It's pretty simple to use and pretty popular, so I'm going to use FileZilla. Now let's get started.
Step 1: Download Your Site and Make a Copy
The easiest way to create a local copy of your live site is to download the directory where WordPress is installed. public_html or www is usually the default directory.
- Use your FTP/SFTP credentials to connect to your live site in FileZilla.

- The left-hand pane labeled Local site allows you to navigate to the directory where you wish to download a copy of your live site.
- You need to download the root directory of your live site, where you installed WordPress, to the local directory mentioned above.
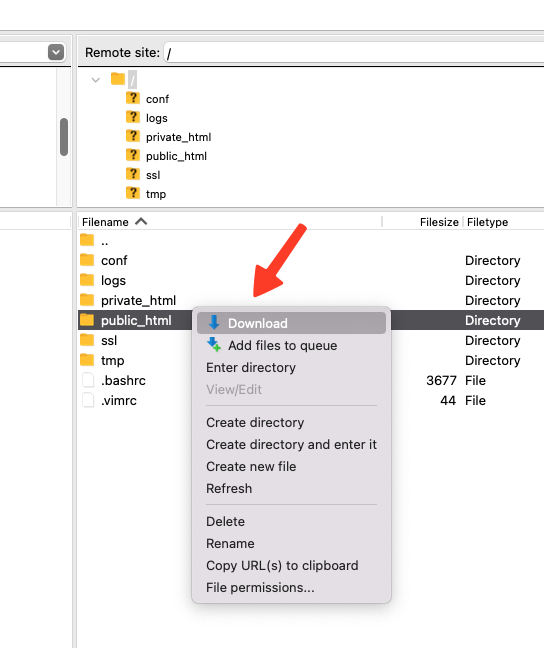
Depending on the size of your live site, FileZilla will take a long time to download all your WordPress files. I have found FTP to be agonizingly slow, which is another reason to use BlogVault for cloning.
Step 2: Upload the Copy to a Web Server
- Your site's clone will be hosted on the web server you connect to.
- The directory you downloaded in Step 1 should be uploaded to the new server's root directory.
Step 3: Export Your Live Site’s Database
Using the corresponding database manager, you can export the database from your live site. There are two most common ones: phpMyAdmin and Adminer. The steps in this section will be illustrated using Adminer. For phpMyAdmin, the steps are essentially the same.
- Go to the Adminer dashboard for your live site. This is what it should look like:
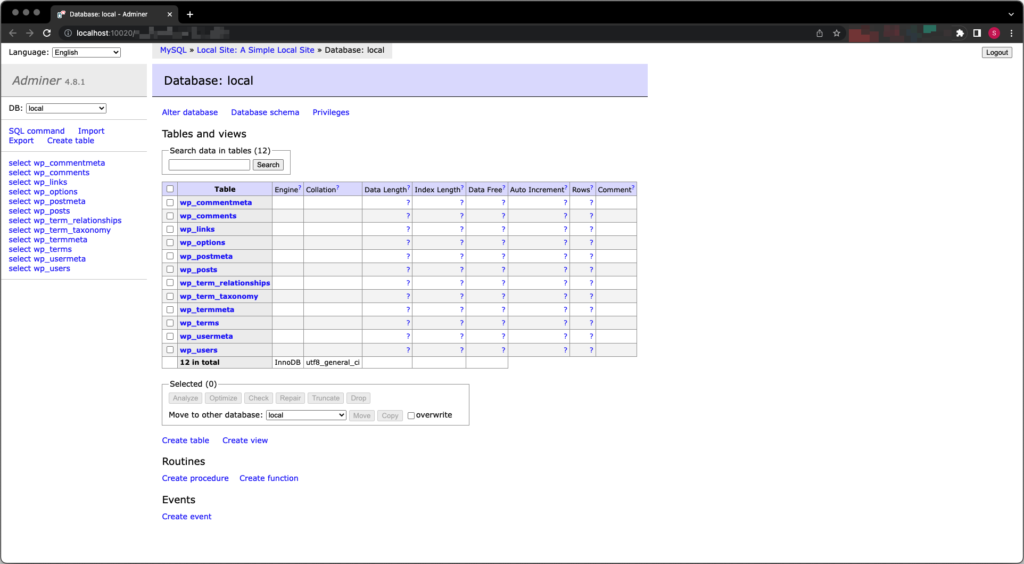
- From the left-hand pane, click Export.
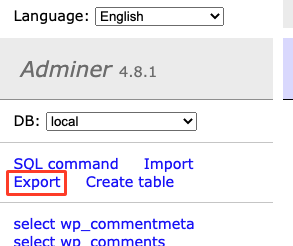
- Click on Export, select Save as the output format, and SQL as the data format.
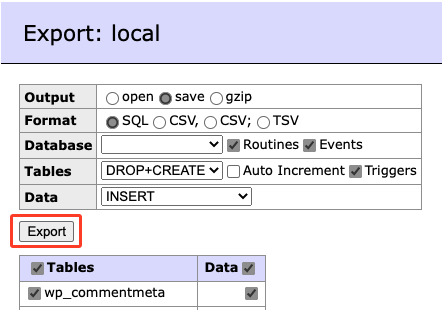
- You can then download the SQL file by giving it a suitable name in the pop-up window.
Step 4: Set Up a Database for Your Site’s Clone
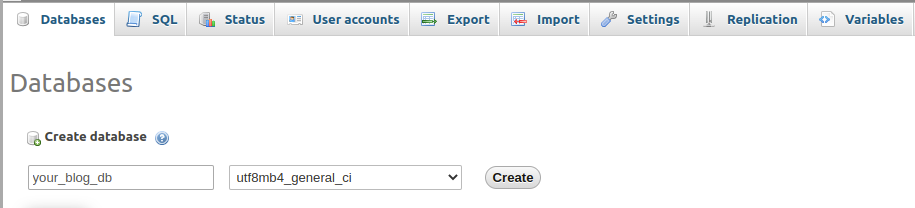
A database is essential for storing the content and settings of any WordPress site, and your site's clone is no exception. In this step of the cloning process, I will create a new database for the clone of my live site. For the purpose of illustrating this process, I will use Bluehost. If you are using another web host, the steps should be similar.
1. From the left-hand navigation menu, select Advanced > Databases.
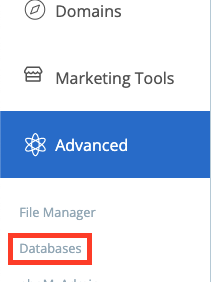
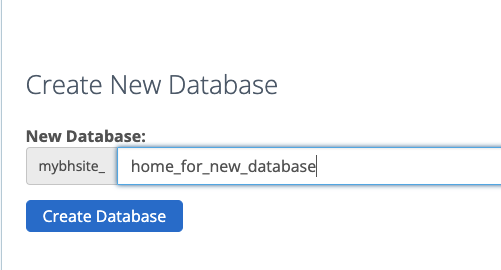
2. Click on Create Database under the section 'Create New Database,' then give your new database a name. As an example, I've named the database 'mybhsite_home_for_new_database'.
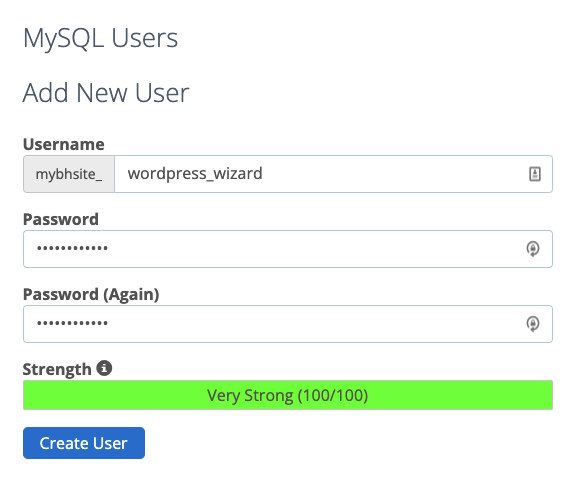
3. Now we'll add a new database user to our account. Enter a strong password and a username, then click on Add New User under ‘MySQL Users’. Then click on Create User to finish.
4. The user you created in Step 3 should now be added to the database you created in Step 2.
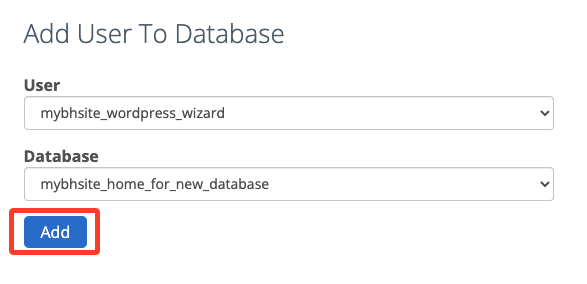
- Make sure that all privileges are assigned to this new user, then click on Make Changes.
Step 5: Import the Database of the Live Site into the Clone
As an example, I'll use Adminer again.
- Open the database manager on the web host of your website clone.
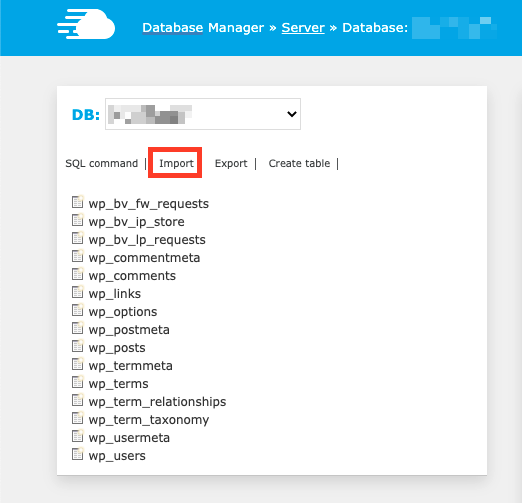
- Click Import after selecting the database you created for your clone site.
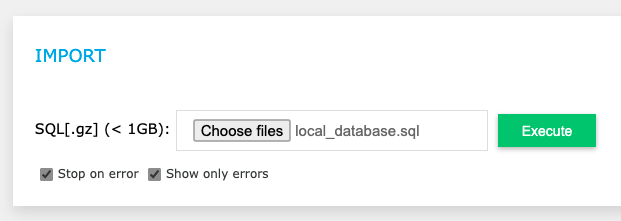
- Click on Execute to begin importing the SQL file after choosing the correct one.
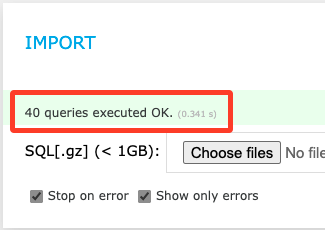
If your live site's database is large, it may take a while to import the data. There will be a confirmation message after the import has been successful.
Step 6: Edit the wp-config.php File
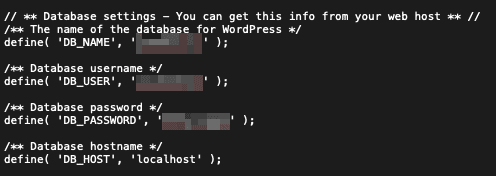
Your WordPress installation depends on the wp-config.php file. This file is located in the root directory of your website and contains details about your website's base configuration, including database connection information. WordPress consults this file to communicate with the database. Visitors will not be able to access the site if it is not configured with the correct database information.
Modify the wp-config.php file to contain the correct database information in this step.
You can download the file by navigating to the root directory of the cloned site in FileZilla's 'Remote site' section. Replace the following lines of code with the credentials for the new server's MySQL database:
define('DB_NAME', 'new database name here');
define('DB_USER', 'username for the new database');
define('DB_PASSWORD', 'password for the new database');
define('DB_HOST', 'new MySQL hostname');
Add the following lines of code below the line that says "That's all, stop editing! Happy publishing!", replacing newdomain.com with your cloned site's domain:
define('WP_HOME', 'http://newdomain.com');
define('WP_SITEURL', 'http://newdomain.com');
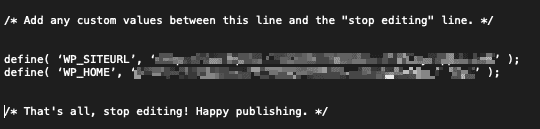
In FileZilla, save the file and re-upload it to the root directory of your cloned site. There you have it! Your live site has now been cloned and is fully operational.
When and Why You Should Copy a WordPress Site
It is possible to duplicate a WordPress site for several reasons. Below are some examples of common ones:
- Installing or updating plugins and themes without breaking your website is important. This is especially useful for plugins and themes that have not been tested for compatibility.
- Your site needs to be moved to a new domain name or web host. The migration process will be sped up by cloning your site.
- On your own computer or server, you're building a site for a client. You can then clone the website on the client's server once you're finished.
- Create a staging site for your production site so that you can work on a redesign or make significant changes without affecting your readers' experience.
Conclusion
The process of cloning a WordPress site on your own can be a slow, headache-inducing one, whatever the reason. Choosing BlogVault can save you a lot of time, effort, and headaches. With BlogVault, cloning your site is easy. Additionally, you can selectively replicate any changes you made to your cloned site to your production site with a single click.
Related Posts
Website and Server Migration
A website is a collection of interconnected web pages and content that share a common domain name and are hosted on a server. Understanding how websites and servers work provides the foundation for building and managing an effective online presence.
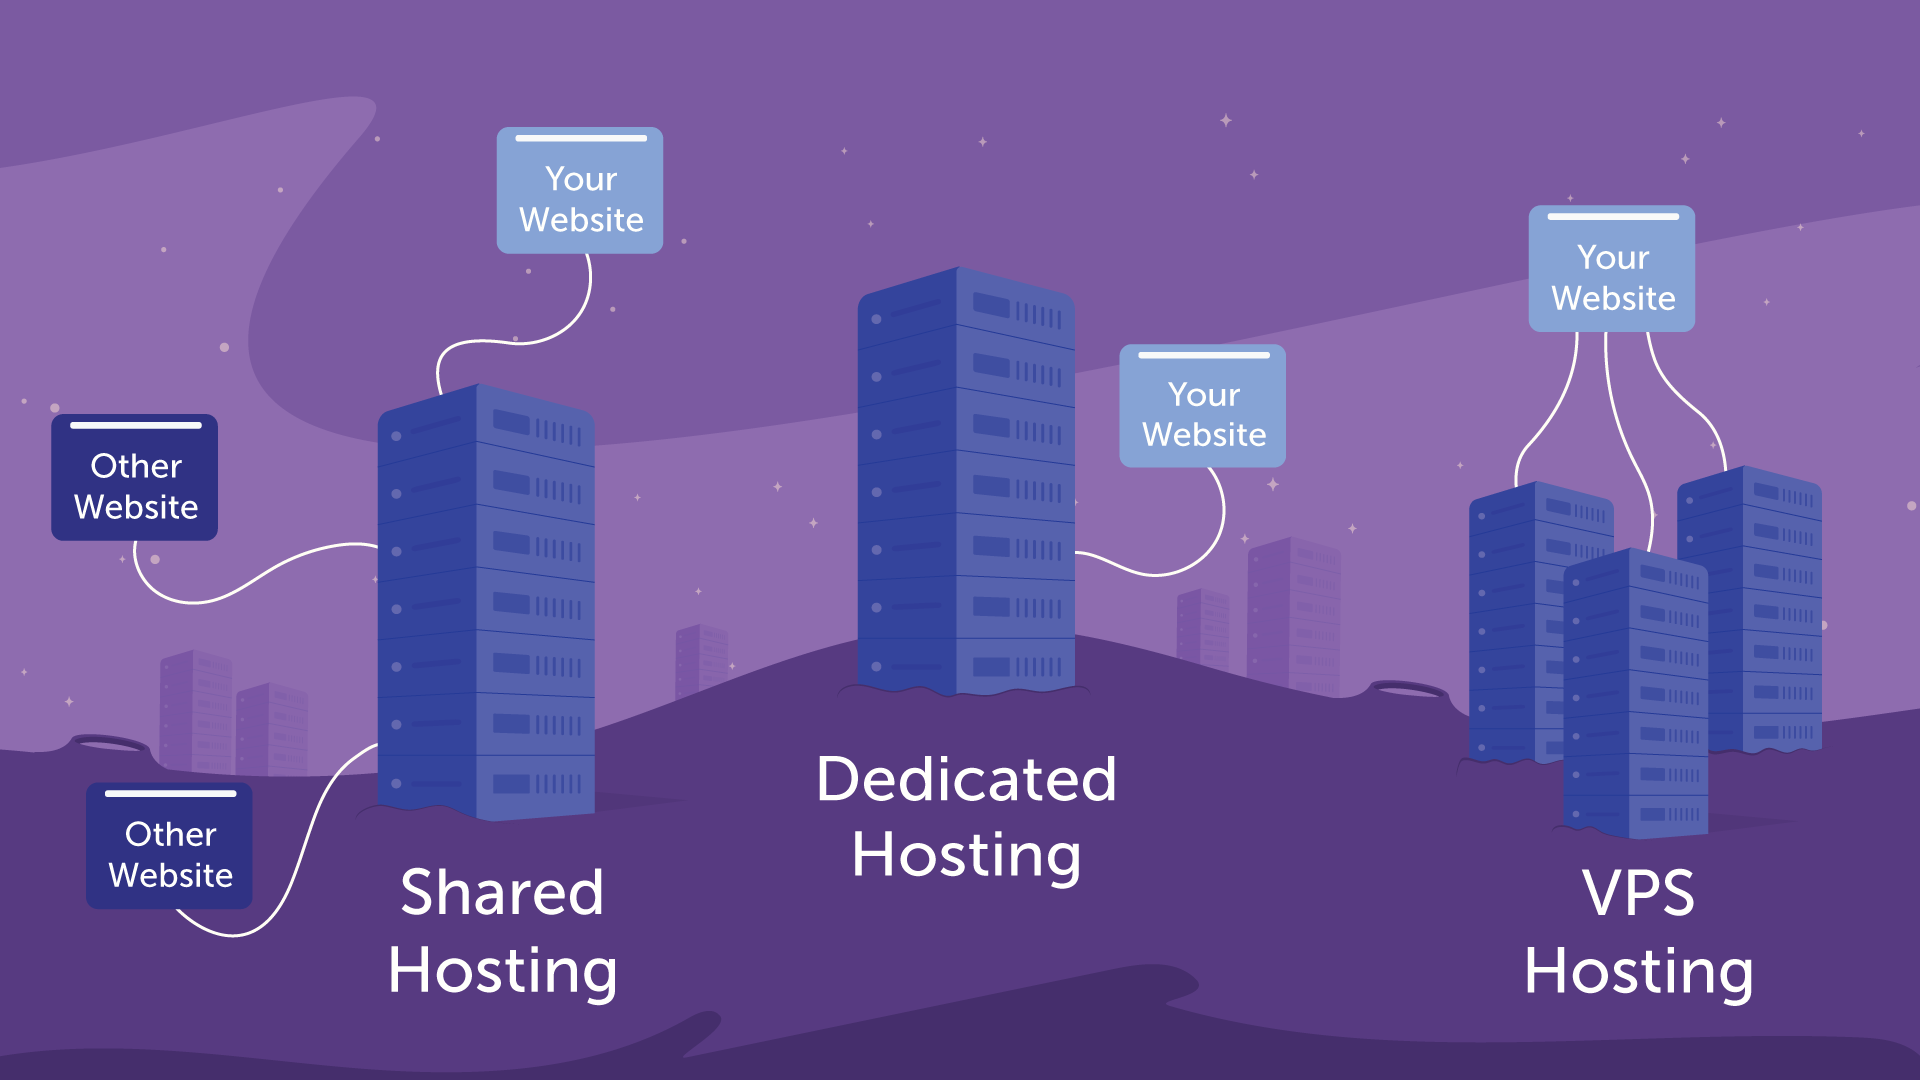
Difference between various hosting types
Every website runs on a server, and web hosting gives you the server space and resources needed to make your site accessible online. Learn how web hosting works and why it's essential for building and maintaining a website.
Wordpress Speed optimization
Page Speed: Why It's Important!
Setup & Install
Installing WordPress is a quick and straightforward process that usually takes just a few minutes. Follow these simple steps to set up WordPress on your website and get started with building your site.